

Welcome to your no-nonsense guide for handling general plasterboard repairs around your rural NSW homestead or farm building. Out here, life is tough on our homes. Whether it’s a bump from a bit of machinery, a stray hoof from the stock, or just the harsh climate taking its toll, plasterboard damage is a common headache.
This guide will walk you through everything you need to know, from spotting the problem to getting that professional-looking finish.
Your Practical Guide To Plasterboard Repairs On The Farm
Getting a handle on the basics of plasterboard maintenance is one of the best ways to protect your property's value and structural integrity. The principles are the same whether you're just outside Tamworth or way out near Broken Hill. Think of this as the groundwork before we dive into the nitty-gritty, making sure you’re ready for whatever repair job comes your way.
Navigating Repairs in Remote Locations
One of the biggest hurdles for anyone on a rural property is simple logistics. A quick trip to the hardware store can turn into an all-day affair. And getting a tradie to your door? That often means steep travel costs and long waits. Because of this, good planning isn't just a nice-to-have—it's absolutely essential.
We know these challenges firsthand. That's why we've invested in a 10 tonne 4×4 truck specifically to bring materials and supplies to the most remote properties around New South Wales. This capability allows us to bring in labour, materials, and equipment exactly where and when it's needed the most, tackling dirt roads and water crossings without a problem.
On a rural homestead, a small crack is more than just an eyesore. It’s an open invitation for dust, pests, and moisture. Tackling general plasterboard repairs early is the key to stopping a minor issue from turning into a major headache.
Here in rural NSW, these repairs are a fact of life, thanks to our tough environment and the daily realities of farm work. The Plastering and Ceiling Services sector is a big one, supporting over 16,000 businesses across the country, with plenty of them based in regional hubs like Dubbo and Armidale.
Repair costs typically start from $45 to $90 per square metre but can jump up for more complex jobs. If you're interested in the market data, you can review the 2024 market report on ibisworld.com.
Our goal here is to give you the confidence to handle many of these repairs yourself. To see a few different approaches, exploring general drywall repair techniques can offer some great insights. We'll cover the tools you'll need, the step-by-step process, and the finishing touches that guarantee a durable, seamless result every time.
Assembling Your Plasterboard Repair Toolkit
Kicking off any plasterboard repair without the right gear is like heading out to muster on a pushbike—you just won't get far. When you're on a rural property and the nearest hardware store is a decent drive away, having a well-stocked toolkit isn't just a matter of convenience; it’s essential to getting the job done right the first time.
Being properly prepared means you can tackle damages as soon as they pop up, stopping a small issue from snowballing into a major headache. Forgetting a roll of tape or grabbing the wrong compound can bring the whole job to a grinding halt, turning a simple afternoon fix into a multi-day saga. Let's make sure you're set up for success from the get-go.
Before you cut a single piece of plasterboard or mix up any compound, it pays to have your essential toolkit ready and waiting. This isn't just about saving a trip to town; it's about making the entire repair process smoother and more professional.
Here's a quick rundown of the must-have tools and materials that will see you through most common plasterboard fixes.
Essential Toolkit For Common Plasterboard Repairs
| Item Category | Essential Items | Recommended For |
|---|---|---|
| Application Tools | Joint Knives (100mm & 150-200mm), Plaster Hawk or Pan | Applying compound, feathering edges, and managing mud. |
| Cutting & Prep | Sharp Utility Knife, Stud Finder, Measuring Tape, Pencil | Cutting plasterboard, finding wall framing, marking cuts. |
| Finishing Tools | Sanding Block, Sandpaper (120 & 220-grit) | Smoothing dried compound for a seamless, paint-ready finish. |
| Safety Gear | Safety Glasses, Dust Mask (P2-rated), Gloves | Protecting your eyes and lungs from dust and debris. |
| Compounds | Base Coat, Top Coat, or an All-Purpose Compound | Filling gaps, embedding tape, and creating the final smooth surface. |
| Reinforcement | Paper Tape, Self-Adhesive Fibreglass Mesh Tape | Strengthening joints, corners, and patches to prevent cracking. |
Having this kit organised and on hand is a real game-changer. You can focus completely on the quality of your work instead of making frustrating trips back to the shed or, worse, all the way into town for one forgotten item.
Choosing The Right Compounds And Tapes
The materials you pick are just as critical as the tools you wield. Get the combination right, and you'll end up with a repair that’s strong, durable, and blends perfectly into the existing wall.
For instance, a base coat compound is your workhorse. It provides excellent strength and adhesion, making it perfect for that first fill and for setting your tape. You then follow it up with a top coat, which is a lighter, finer compound that's much easier to sand, giving you that glass-smooth finish ready for paint. You can get a deeper understanding of how these materials work together in our detailed guide to Gyprock repairs.
Your choice of reinforcing tape also matters. Traditional paper tape is fantastic for strengthening joints and internal corners because it resists stretching and creates a really strong bond. On the other hand, self-adhesive fibreglass mesh tape can be a quicker option for patching small holes, but it’s best paired with a setting-type compound to ensure it holds firm and doesn't crack down the track.
Tackling Common Plasterboard Problems Step-By-Step
With your toolkit ready, let's get our hands dirty with some general plasterboard repairs. The type of damage dictates the strategy, but the fundamentals—prep, apply, finish—are always the same. We'll walk through the most common headaches you’ll find on a rural property, from little screw pops to those more "how did that happen?" holes.
Patience is the name of the game here. Each repair is a multi-stage process, and letting each layer of mud dry properly is non-negotiable if you want a strong, lasting fix. Trust me, rushing the job is the fastest way to see those same cracks again in a few months.
Fixing Small Dents and Screw Pops
These are your bread-and-butter repairs—thankfully, they're the easiest. Screw pops are a classic sign of a house settling, where the plasterboard shifts and pushes the screw head out, creating a small bulge. Dents are just the result of life happening.
To fix a screw pop, the first thing you need to do is drive the screw a touch deeper into the stud. You want it to create a small dimple, just below the surface of the plasterboard. For dents, a quick, light sand to scuff up the paint and remove any loose bits is all you need.
Next, grab your 100mm joint knife and apply a thin, tight layer of all-purpose compound, pressing firmly to make sure you fill the imperfection completely.
Once that first coat is dry to the touch, come back with a second, slightly wider coat. This time, feather the edges out to blend it smoothly into the wall. After it's fully cured, a light sand is all it takes before you're ready for primer and paint.
Repairing Medium-Sized Holes
So, a doorknob got a little too friendly with the wall, or a piece of furniture was moved without enough care. It happens. These holes, usually between 2 to 6 inches, are too big to just bog up with filler but don't warrant replacing a whole sheet.
Here’s my tried-and-true method for a solid fix:
- Clean Up the Hole: Take a utility knife and cut a neat square or rectangle around the damaged area. It feels counterintuitive to make the hole bigger, but this gives you clean, straight edges to work with, making the patch much easier to fit.
- Install Backing Support: Cut two small pieces of scrap timber (a bit of 1×3 is perfect) a few inches longer than the height of your hole. Slip one piece inside the wall, pull it up tight against the back of the plasterboard, and drive a couple of screws through the existing wall to hold it firm. Do the same with the second piece on the other side.
- Cut and Fit the Patch: Measure your new, clean opening and cut a piece of plasterboard to match. It should fit in there snugly. Screw this patch directly into the timber backing you just installed.
What you've done is create a rock-solid foundation for your plaster. This method ensures the patch won't flex or crack down the line. If you’re a visual person and need to see this in action, our guide on plasterboard wall repairs has more detailed breakdowns.
Handling Large Holes and Damage
When you’re looking at damage bigger than 6 inches, you need a more robust approach. The key is to cut the damaged section back to the nearest wall studs to give your new plasterboard a solid anchor point. A stud finder will be your best friend here—use it to locate the centre of the studs on either side of the hole.
With your studs marked, cut a clean rectangle from the centre of one stud to the centre of the other. This gives you a solid timber frame to screw the new, larger patch into. This technique is absolutely fundamental for ensuring the structural integrity of more substantial general plasterboard repairs.
This simple diagram shows the core elements you'll be working with.
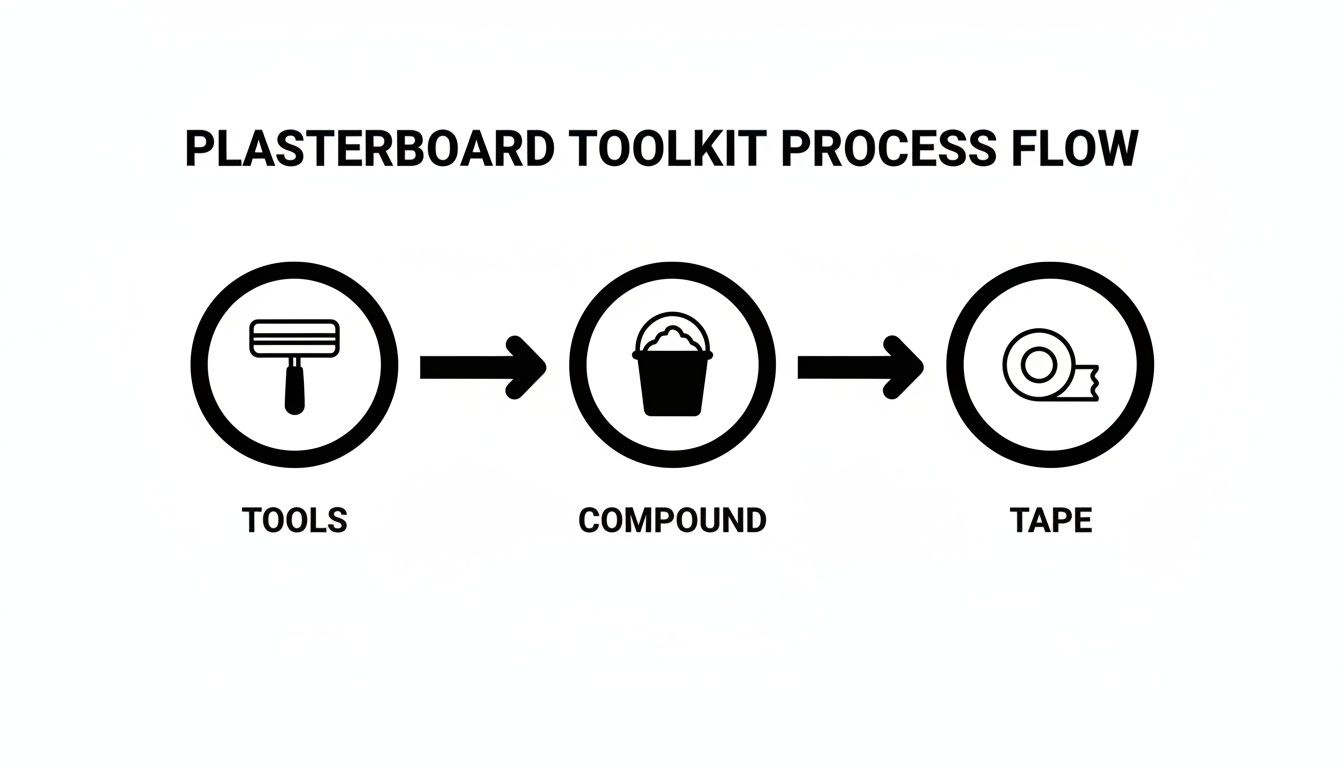
It really just boils down to having the right tools, the right compound, and the right tape, all used in the right order.
Addressing Stress Cracks
You'll almost always find stress cracks near windows and doorways, where the building naturally moves and shifts the most. Just filling them with compound is a rookie mistake; they'll be back before you know it.
To fix a stress crack properly, you have to reinforce it. Start by taking your utility knife and carefully cutting a shallow 'V' groove along the entire length of the crack. This creates a small channel for the compound to bed into, giving it something to grab onto.
For a lasting fix on stress cracks, always use paper joint tape embedded in the compound. Paper tape resists stretching far better than fibreglass mesh, making it the superior choice for areas prone to movement.
Apply a thin layer of compound into the groove and along the crack. Press the paper tape firmly into the wet compound, using your joint knife to squeeze out any excess from underneath. Let it dry completely. From there, you can apply your next coats, feathering each one wider than the last to create a seamless, invisible repair. It’s this reinforcement that stops the crack from ever coming back.
Achieving a Flawless Finish: Sanding and Painting
You can do a fantastic plasterboard repair, but it’s the finishing touches that really make it count. The final stages of sanding and painting are what truly make the patch disappear, blending it so seamlessly that you forget it was ever there. This part of the job is all about finesse and a bit of patience.
Rushing the finish is the most common mistake I see. It’s what leads to those obvious patch outlines, weird textures, and a paint job that never quite looks right. Taking your time to sand properly and use a good primer is what separates a DIY-looking job from a professional, long-lasting result.
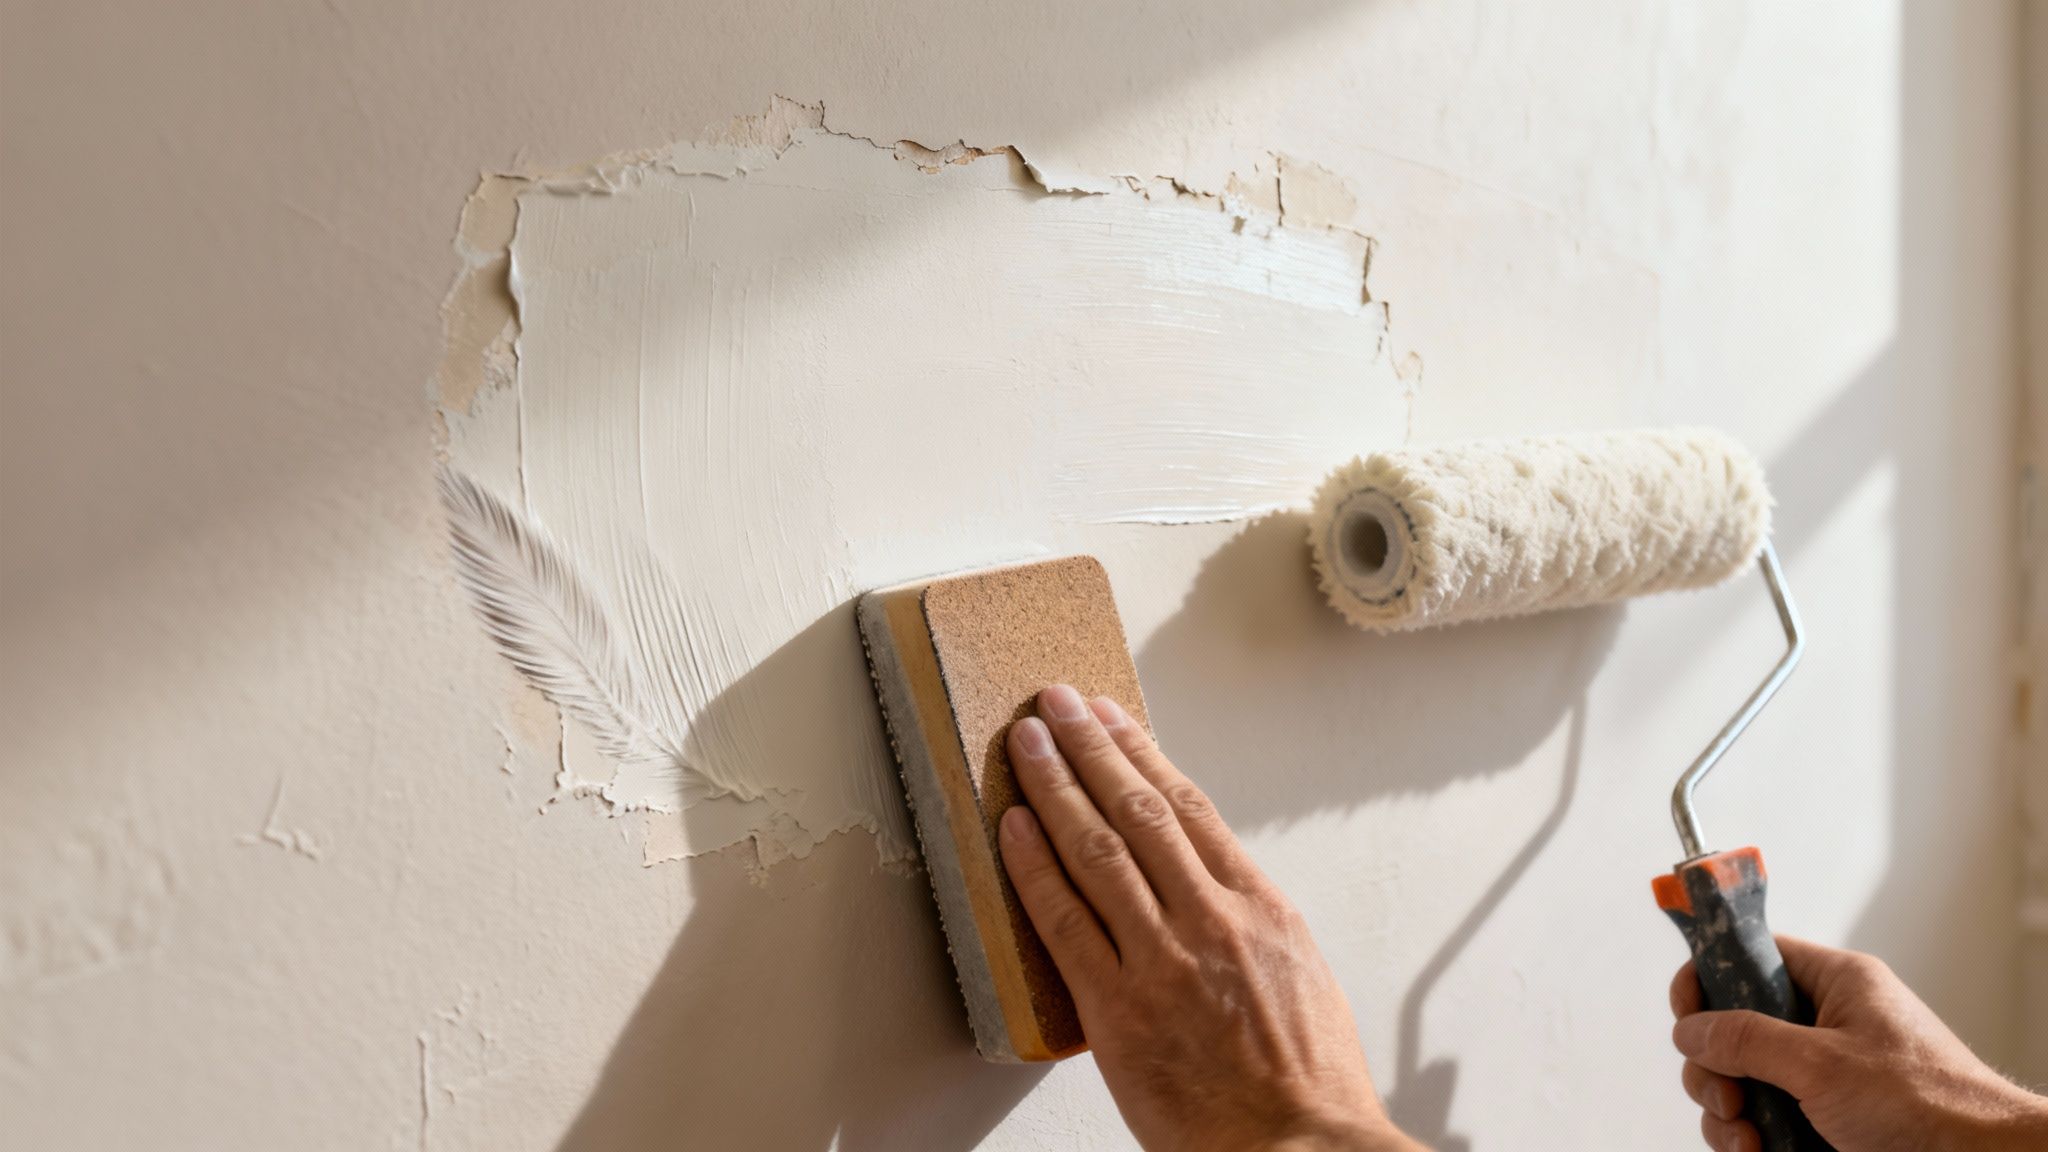
Perfecting the Sanding Process
Sanding is a delicate balance. The goal is to get the patched area perfectly smooth and level with the rest of the wall without scuffing up the surrounding paint or plasterboard paper. You're trying to knock down the high spots of your plastering compound, not create new dips and valleys.
Grab a sanding block and some medium-grit sandpaper—something around 120-grit is a great starting point. The block is key because it keeps the pressure even and stops you from accidentally digging into the soft top coat. Use light, sweeping circular motions, starting from the centre of the patch and working your way out.
The real trick is to feather the edges. As you sand near the edge of your repair, apply a little less pressure on the side of the block over the patch. This creates a soft, tapered transition from the compound to the original wall surface, which is the secret to making the repair invisible.
Here's a pro tip: grab a torch and hold it close to the wall, shining the light across the surface at a low angle. This will cast long shadows over any tiny bumps or divots you might have missed. It’s the best way to spot imperfections before you even think about painting.
Once it feels smooth, give it a final, very light once-over with a fine 220-grit paper to polish it up. And please, wear a good dust mask. Plaster dust is incredibly fine, and you don’t want that stuff in your lungs.
Priming and Painting for a Seamless Match
After a thorough wipe-down with a damp cloth to get rid of every last bit of dust, it’s time to paint. But hold on—don’t just slap your wall colour straight onto the fresh plaster. The new compound is like a sponge; it soaks up paint much more than the surrounding sealed wall.
If you paint directly onto it, you'll get a visual effect called ‘flashing’. This is where the repaired spot has a different sheen and texture, making it stand out like a sore thumb even when the colour is a perfect match.
To avoid this, you absolutely must seal the repair with a quality primer. This step does two critical things:
- It creates a non-porous, uniform surface so your top coat goes on evenly.
- It helps the final paint layers bond properly to the new plaster.
Apply one or two coats of a good acrylic sealer or primer. Let it dry completely. Now you're ready for your final top coats. If you have any leftover paint from the original can, you’re in luck. If not, carefully cut a small chip of paint from an inconspicuous area and take it to your local paint shop. They can colour-match it perfectly, giving you that truly invisible finish.
When to Call the Professionals for Your Rural Property
There's nothing quite like the satisfaction of a job well done yourself, but some general plasterboard repairs are actually warning signs. Knowing when to put the tools down and pick up the phone can save you a world of hurt, especially when you’re out on a rural block. A failed repair, wasted materials, or worse—covering up a serious underlying issue—is the last thing you need.
Extensive water damage is one of the biggest red flags. If you're seeing soggy, sagging plasterboard or stubborn discolouration that keeps coming back, that’s not just a cosmetic fix. It’s almost always a symptom of a bigger headache like a leaking roof, failing plumbing, or dodgy waterproofing. A professional needs to diagnose and fix the source before any plasterboard work even begins.
Another clear sign is the presence of major structural cracks. I’m not talking about the tiny hairline fractures that appear over time. I mean the ones that are wide, getting longer, or running diagonally from the corners of windows and doors. These can point to serious movement in your home's foundation or frame, and that’s a problem you absolutely need a professional opinion on to ensure your home is safe.
Uniquely Equipped for Remote NSW Properties
Dealing with large-scale damage on a remote homestead brings its own set of logistical nightmares. This is where getting the pros in becomes essential, particularly when the job is bigger than just patching a few holes.
At Awesim Building Contractors, we're built to handle the unique challenges of distance and access. We have a 10 tonne 4×4 truck ready to haul all the labour, materials, and specialised gear straight to your front gate. It’s built to tackle dirt roads and water crossings, meaning we can get complex jobs done efficiently, no matter how far off the beaten track you are.
With this setup, we can manage anything from a single room repair to a full-scale homestead renovation. We bring the materials and the team right where they need to be, all while ensuring every bit of work meets Australian Standards.
The sheer scale of renovations on farms and stations has fuelled massive growth in the Australian plasterboard market, which is tipped to hit USD 1,809.95 million by 2033. For property owners, what seems like a small fix can quickly spiral. A partial ceiling replacement, for example, can easily cost upwards of $9,000, which shows why it pays to have professionals handle major kitchen or bathroom overhauls from the start.
Bringing in a contractor is a big decision, and being well-prepared makes the whole process go a lot smoother. This guide on 10 things your remodeling contractor wants you to know offers some excellent perspective. For all sorts of other property maintenance jobs, feel free to check out our comprehensive handyman services.
Your Plasterboard Repair Questions, Answered
When you're dealing with plasterboard, a few common questions always seem to pop up. Getting the right answers can be the difference between a repair that lasts a lifetime and one that needs redoing in a few months. Here’s some advice based on what we see out on properties across New South Wales every day.
How Long Does Plasterboard Compound Take to Dry?
Patience is key here. The drying time for plasterboard compound really comes down to what you're using, how thick you've laid it on, and the conditions in the room.
If you’re just filling a tiny dent with a quick-drying filler, you might be ready for the next step in an hour or so. But for most standard, all-purpose compounds, you absolutely need to give it a solid 24 hours between coats. Rushing this step is a common mistake that leads to weak patches. In the humid conditions we often see in rural NSW, you might even want to give it a bit longer or point a fan at the area to keep the air moving.
Can I Just Patch Over Water-Damaged Plasterboard?
This is a big one, and the answer is almost always no. If the board feels even slightly soft, is swollen, or has started to sag, it has to come out. Trying to patch over it is a surefire way to trap moisture, which is a perfect invitation for mould.
Before you even think about the repair, you have to find and fix the source of the leak. No exceptions. Once that's sorted, and if the damage is just a superficial stain on a board that's still hard and structurally sound, you can get away with cleaning it and sealing it with a good quality stain-blocking primer before you paint.
Why Do the Same Cracks Keep Coming Back?
If you've got a crack that just won't quit, especially around a window or door frame, you're likely dealing with movement in the building's frame. This is incredibly common on rural properties, where soil shifts and seasonal temperature swings can cause things to move around more than you'd think.
Slapping another layer of filler on it will never work long-term. For these high-stress areas, you need to use paper joint tape, not the fibreglass mesh stuff. Paper tape is much stronger and resists stretching, but the trick is to embed it properly into the compound. This creates a joint that has enough flex to handle that minor movement without cracking again. If it's a major crack that seems to be getting bigger, it's probably time to call in a professional to check for more serious structural issues.
We know that getting the right materials can be tough when you're in a remote location. That’s why we run a fully-equipped 10 tonne 4×4 truck. It means we can bring everything we need—labour, materials, and equipment—straight to you, no matter how far off the beaten track you are.
What’s the Difference Between Base Coat and Top Coat?
Using the right product at the right stage is crucial for a professional finish. Think of it like this:
Base coat is your workhorse. It’s a fast-setting, high-adhesion compound designed for strength. You use it to fill the gaps and set your tape. It dries hard as a rock, but the trade-off is that it’s a pain to sand smooth.
Top coat is your finishing product. It’s a much lighter, creamier compound that goes on for the final layer or two. Its main advantage is that it’s incredibly easy to sand, which is how you get that perfectly flat, seamless surface ready for a lick of paint. Using them in the right order gives you the best of both worlds: a strong, durable repair with a flawless finish.
For any repair job, big or small, you need a team that understands the unique demands of rural properties. Awesim Building Contractors has the experience and the gear to deliver quality, lasting solutions right to your door. Contact us today to discuss your project.


